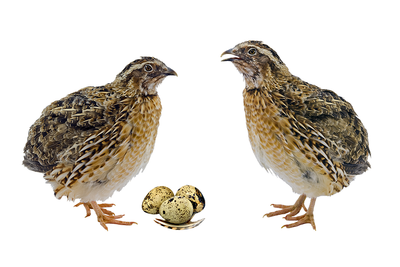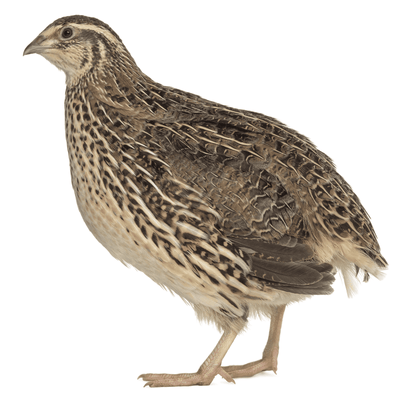
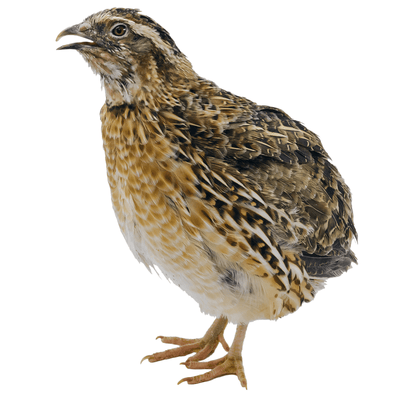
Quail eggs are small, delicate, and packed with nutrients, making them a popular choice for hobbyists and small-scale farmers alike. Incubating and hatching quail eggs can be a rewarding experience, but it requires care, patience, and attention to detail. This guide will walk you through the process step by step, to ensure a successful hatch.
1. Gather necessary materials:
- Incubator (preferably with a built-in fan and automatic egg turner)
- Hygrometer and thermometer
- Incubation tray
- Hatching tray or box
- Brooder
- Quail eggs
2. Set up the incubator:
- Assemble the incubator according to the manufacturer's instructions.
- Place the hygrometer and thermometer inside the incubator.
- Fill the water reservoirs to maintain humidity, following the manufacturer's guidelines.
- Set the temperature to 37.5°C for forced-air incubators or 38.6°C for still-air incubators.
- Set humidity to 45%
- Allow the incubator to run for 24 hours to ensure stability in temperature and humidity.
3. Select and prepare the eggs:
- Choose healthy eggs, free of cracks and deformities.
- Remove any dirt from the eggs gently with a dry cloth or paper towel but do not wash them. Quail eggs have an anti bacterial bloom coating around the shell of the egg which will be removed if washed.
- Mark one side of each egg with an "X" and the other side with an "O" using a non-toxic marker. This will help track the turning process.
4. Incubate the eggs:
- Place the eggs in the incubation tray, with the marked side up.
- Maintain a humidity level of 45% during the first 14 days.
- Use the automatic egg turner or manually turn the eggs at least 3 times per day, alternating between the "X" and "O" sides.
- Monitor the temperature and humidity levels daily, making adjustments as needed.
5. Prepare for hatching:
- On day 15, increase the humidity to 70%.
- Reduce the temperature to 37°C
- Remove the eggs from the turner and place them on the hatching tray or box lined with a non-slip mat.
- Stop turning the eggs.
6. Hatching process:
- Quail eggs typically hatch between days 17 and 23, depending on the species.
- Do not open the incubator during the hatching process, to avoid disrupting the humidity and temperature levels.
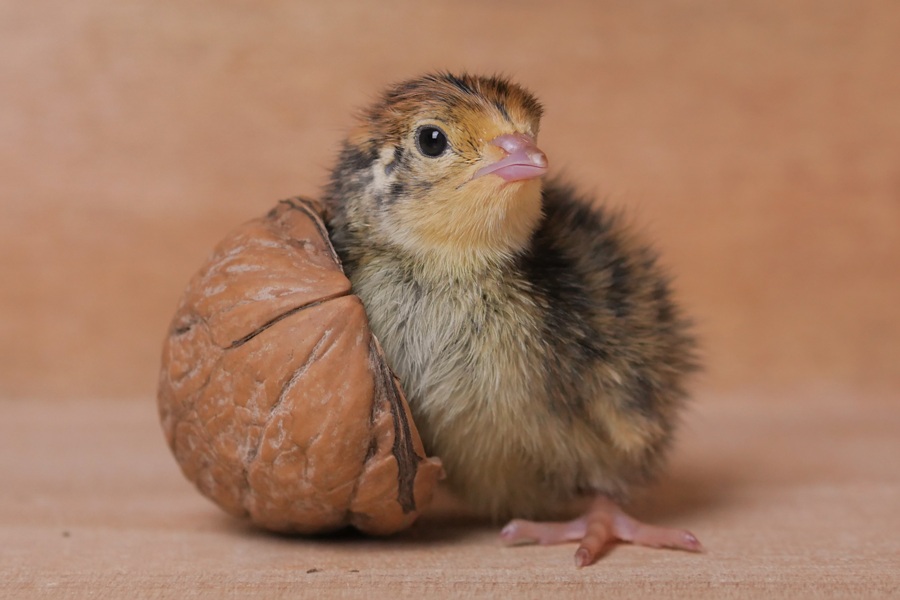
- Once a chick has hatched, allow it to dry and gain strength for a few hours before transferring it to the brooder.
7. Set up the brooder:
- Provide a heat lamp or heat plate to maintain a temperature of 35°C for the first week, gradually decreasing by 3°C each week.
- Use a chick starter feed and shallow water dishes.
- Keep the brooder clean and dry, replacing the bedding as needed.
Incubating and hatching quail eggs can be an enjoyable and fulfilling experience. By following these steps and paying close attention to temperature, humidity, and cleanliness, you can successfully hatch healthy quail chicks and enjoy the benefits of raising these fascinating birds.